How to Check Servo Motor Encoder
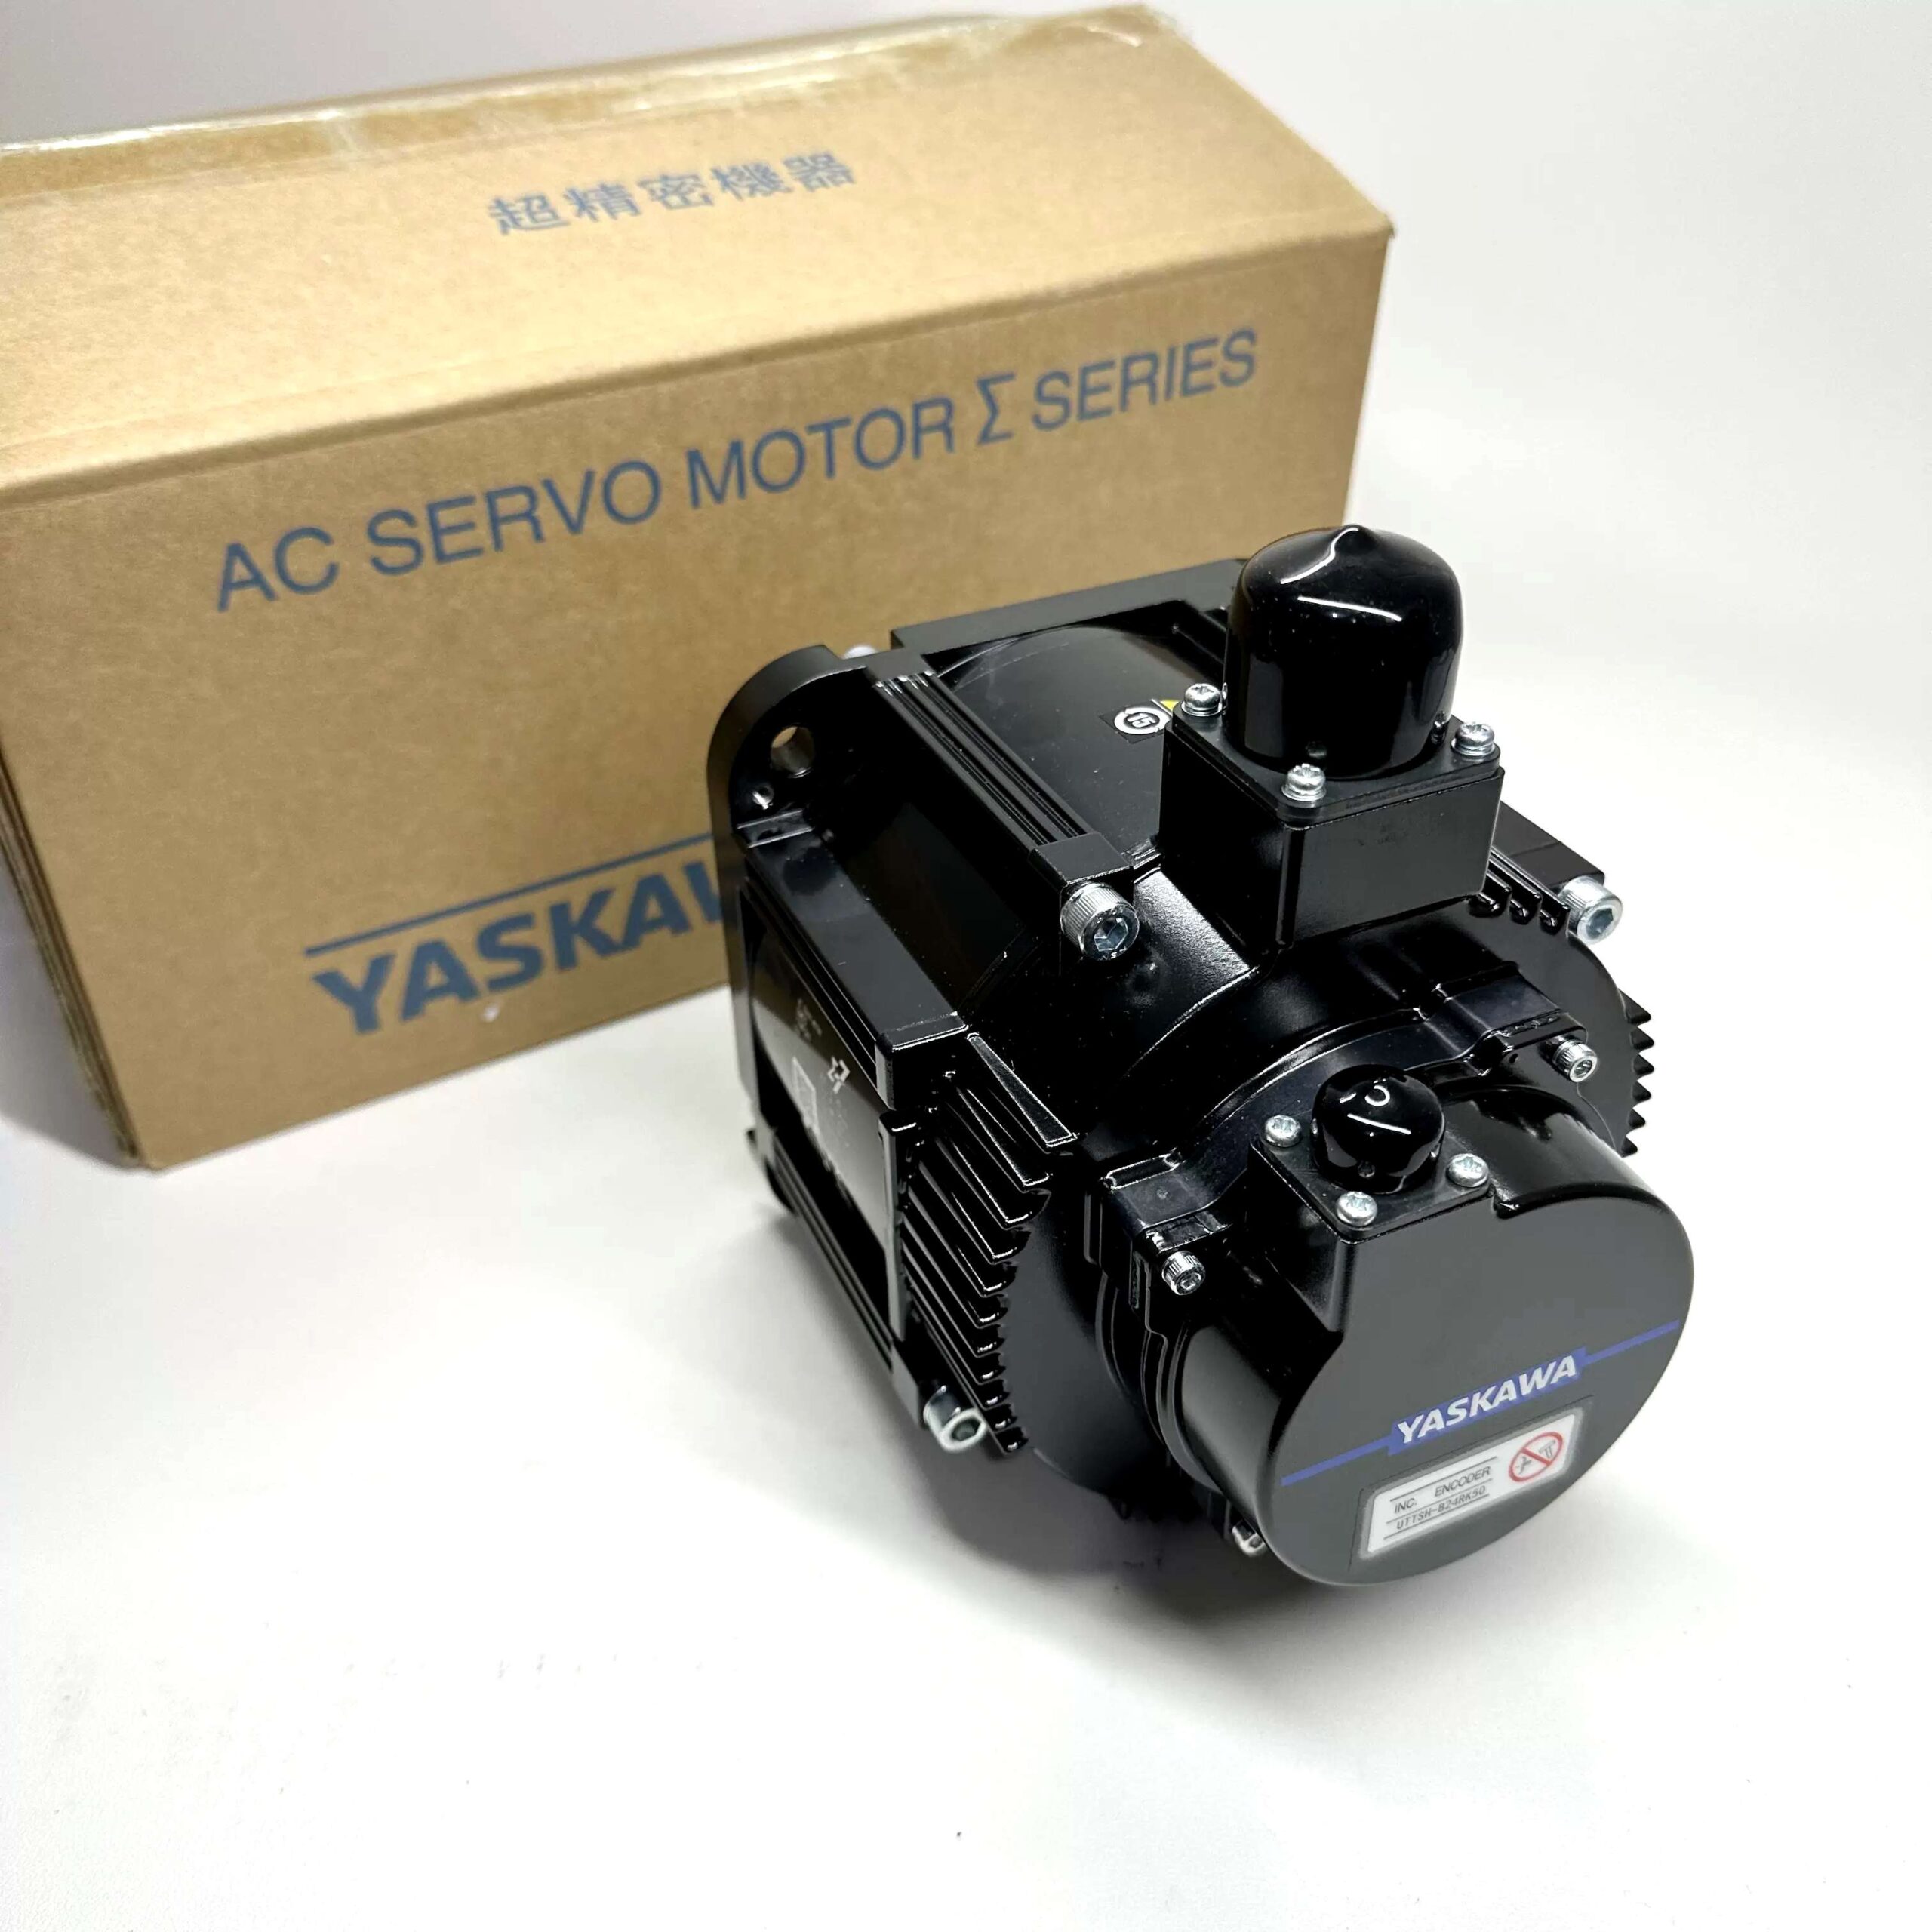
Servo motors are critical components in many precision applications, from industrial automation to robotics. One key element of servo motors is the encoder—a device that tracks the motor’s position, speed, and direction, allowing for precise control. A faulty encoder can result in erratic behavior, poor positioning, or even failure of the servo system. In this article, we will explore how to check a servo motor encoder effectively, discuss the reasons why encoders fail, and provide practical advice to troubleshoot encoder-related issues.
What Is a Servo Motor Encoder?
A servo motor encoder is a sensor that provides feedback about the motor’s position, speed, and direction of rotation. It works by converting mechanical motion into an electrical signal, which the control system uses to ensure precise and reliable control of the servo motor.
There are two main types of encoders used with servo motors:
- Incremental Encoders: These measure relative position and are commonly used for basic positioning tasks. They emit pulses as the motor shaft rotates, allowing the control system to track movement.
- Absolute Encoders: These provide unique position values for each point of rotation, which means the exact position is always known, even after a power loss or system restart.
Key Functions of a Servo Motor Encoder
- Position Feedback: Provides data about the exact position of the motor shaft.
- Speed Measurement: Helps maintain consistent rotational speeds.
- Error Detection: Allows the control system to detect discrepancies, ensuring accuracy.
Encoders are vital for the precise control that makes servo motors suitable for robotic arms, automated conveyor systems, and CNC machinery.
Why Test a Servo Motor Encoder?
Testing the encoder is necessary to ensure system reliability and accuracy. A malfunctioning encoder can lead to the following issues:
- Erratic Motor Movement: The motor may jerk or oscillate unexpectedly.
- Loss of Position: Without accurate feedback, the motor loses its position, causing deviations from the intended path.
- System Failure: In severe cases, an encoder failure can cause the entire servo system to fail, impacting productivity and reliability.
Common Signs of a Faulty Encoder
- Inconsistent Positioning: The motor does not reach or hold the intended position.
- Unexpected Stalling: The motor stalls frequently, indicating potential communication issues.
- Error Codes: Your controller displays encoder-specific error codes.
If any of these signs are present, it’s time to perform a diagnostic check on your servo motor encoder.
Tools Needed for Testing
To effectively check your servo motor encoder, gather the following tools:
- Multimeter: To measure resistance and voltage across the encoder pins.
- Oscilloscope: Useful for analyzing signal pulses from the encoder.
- Screwdrivers: For disconnecting the encoder from the servo motor.
- Protective Gloves and Safety Glasses: For safety when working with electrical components.
Step-by-Step Guide to Test a Servo Motor Encoder
1. Safety Precautions
Before starting any electrical work, follow these essential safety precautions:
- Disconnect Power: Ensure that the motor is disconnected from the power supply to avoid shocks.
- Isolate Control Circuits: Disconnect the motor from the controller to prevent any feedback current.
- Wear Safety Gear: Always wear gloves and safety glasses when handling electrical equipment.
2. Visual Inspection
Begin by performing a visual inspection of the encoder and wiring:
- Check Cables and Connectors: Look for any visible signs of wear, damage, or corrosion on the encoder cables and connectors.
- Inspect the Encoder Housing: Ensure there are no cracks or openings in the housing that could lead to environmental damage, like dust or moisture infiltration.
A quick visual check can often identify physical issues that may be impacting performance.
3. Continuity Test
Use a multimeter to conduct a continuity test on the encoder wiring.
- Step 1: Set the multimeter to continuity mode.
- Step 2: Test the encoder wires to ensure they are not open or damaged.
- Result: If the multimeter beeps, the wire is intact. If there is no sound, there may be a break in the wire that needs to be repaired or replaced.
4. Voltage Testing
To verify the encoder’s power supply, measure the voltage at the power terminals.
- Step 1: Set the multimeter to DC voltage.
- Step 2: Connect the probes to the encoder’s power pins.
- Expected Result: The voltage should be within the specified range in the encoder’s datasheet, typically 5V or 24V. An incorrect voltage reading may indicate a power supply issue.
| Voltage Reading | Interpretation |
|---|---|
| Correct Voltage | Encoder receiving power correctly |
| No Voltage | Potential wiring or power issue |
| Incorrect Voltage | Check power source or wiring errors |
Tip: Ensure you are referencing the specific encoder datasheet, as power requirements may vary between models.
5. Signal Pulse Testing with an Oscilloscope
An oscilloscope can help verify the signal pulses from the encoder, especially for incremental encoders.
- Step 1: Connect the oscilloscope to the A and B channels of the encoder.
- Step 2: Rotate the motor shaft manually.
- Expected Waveform: The output should show clean square waves. If the waves are irregular or absent, it could indicate a problem with the encoder.
6. Compare Encoder Output with System Feedback
Most modern systems provide feedback data directly through the controller interface. Compare the controller feedback to the expected encoder data.
- Step 1: Connect the motor back to the controller.
- Step 2: Run a test cycle and check for position errors or discrepancies.
- Analysis: Significant deviations could indicate encoder or communication issues.
Causes of Encoder Failure
Understanding why an encoder might fail can help in both preventive maintenance and effective troubleshooting.
1. Environmental Factors
- Dust and Moisture: Encoders are sensitive to contaminants, which can lead to incorrect readings. Ensure the encoder housing is sealed properly to avoid exposure.
- Vibration and Shock: Excessive vibration can damage internal encoder components, leading to inaccuracies.
2. Electrical Issues
- Power Supply Problems: Incorrect voltage supply can lead to encoder failure. Always verify that the voltage supply matches the encoder requirements.
- Short Circuits: A short circuit in the wiring can cause the encoder to malfunction or even become permanently damaged.
3. Mechanical Wear
- Worn Bearings: Encoders often have internal bearings that wear over time, especially in high-use industrial applications. Regular inspection and replacement can help maintain encoder accuracy.
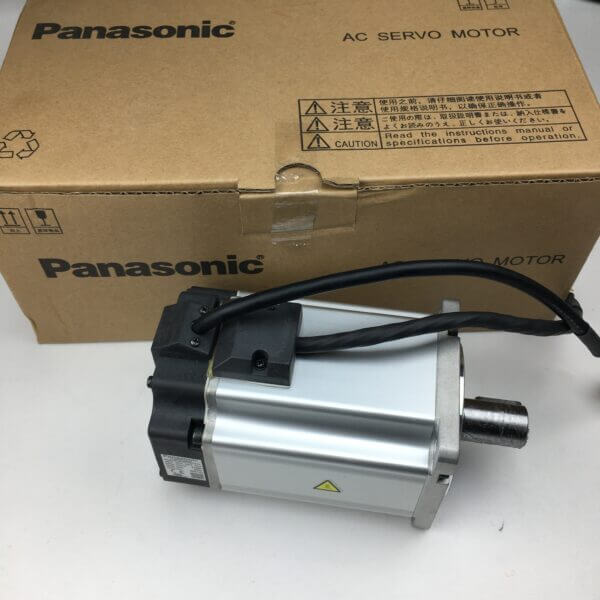
Tips for Maintaining Your Servo Motor Encoder
To extend the life and reliability of your servo motor encoder:
- Regular Cleaning: Keep the encoder clean from dust and dirt to ensure proper signal generation.
- Proper Mounting: Ensure the encoder is securely mounted to minimize vibrations and misalignment.
- Temperature Control: Maintain a stable environment to avoid overheating or condensation within the encoder housing.
- Periodic Testing: Incorporate encoder checks into your maintenance routine to catch early signs of wear or failure.
For more information on maintaining servo motor systems, take a look at our guide on Panasonic Servo Motor MINAS A5 200W MSMJ022G1U/MSMD022G1U.
FAQs
1. What are the signs of a failing servo motor encoder?
A failing encoder may cause erratic movement, position errors, or unexpected motor stalling. In some cases, error codes specific to encoder faults may be displayed on the controller.
2. Can I check a servo motor encoder with a multimeter?
Yes, a multimeter can be used for basic tests such as checking continuity and verifying voltage. However, for signal verification, an oscilloscope is more suitable.
3. How often should I test my servo motor encoder?
It is advisable to include encoder checks in your regular maintenance schedule. Depending on the usage environment, this could be monthly or quarterly.
4. What is the difference between an incremental and an absolute encoder?
An incremental encoder measures relative movement and requires a home position reset, while an absolute encoder provides a unique value for each position, eliminating the need for resets.
5. How do I know if the encoder power supply is correct?
Use a multimeter to measure the voltage at the encoder power terminals. Ensure it matches the encoder’s voltage requirements, typically found in the product datasheet.
Conclusion
Servo motor encoders play a crucial role in ensuring precision and reliability in a wide range of industrial and automation applications. By learning how to check a servo motor encoder using the tools and methods outlined in this article, you can help maintain optimal performance and avoid costly downtime. Remember to incorporate regular checks, watch for signs of wear or failure, and maintain a clean operating environment for your encoders.
For all your servo motor and encoder needs, visit our Servo Motor Store. We offer a wide selection of high-quality servo motors, encoders, and accessories to keep your systems running smoothly.
