How to Check Servo Motor Using a Multimeter: A Step-by-Step Guide
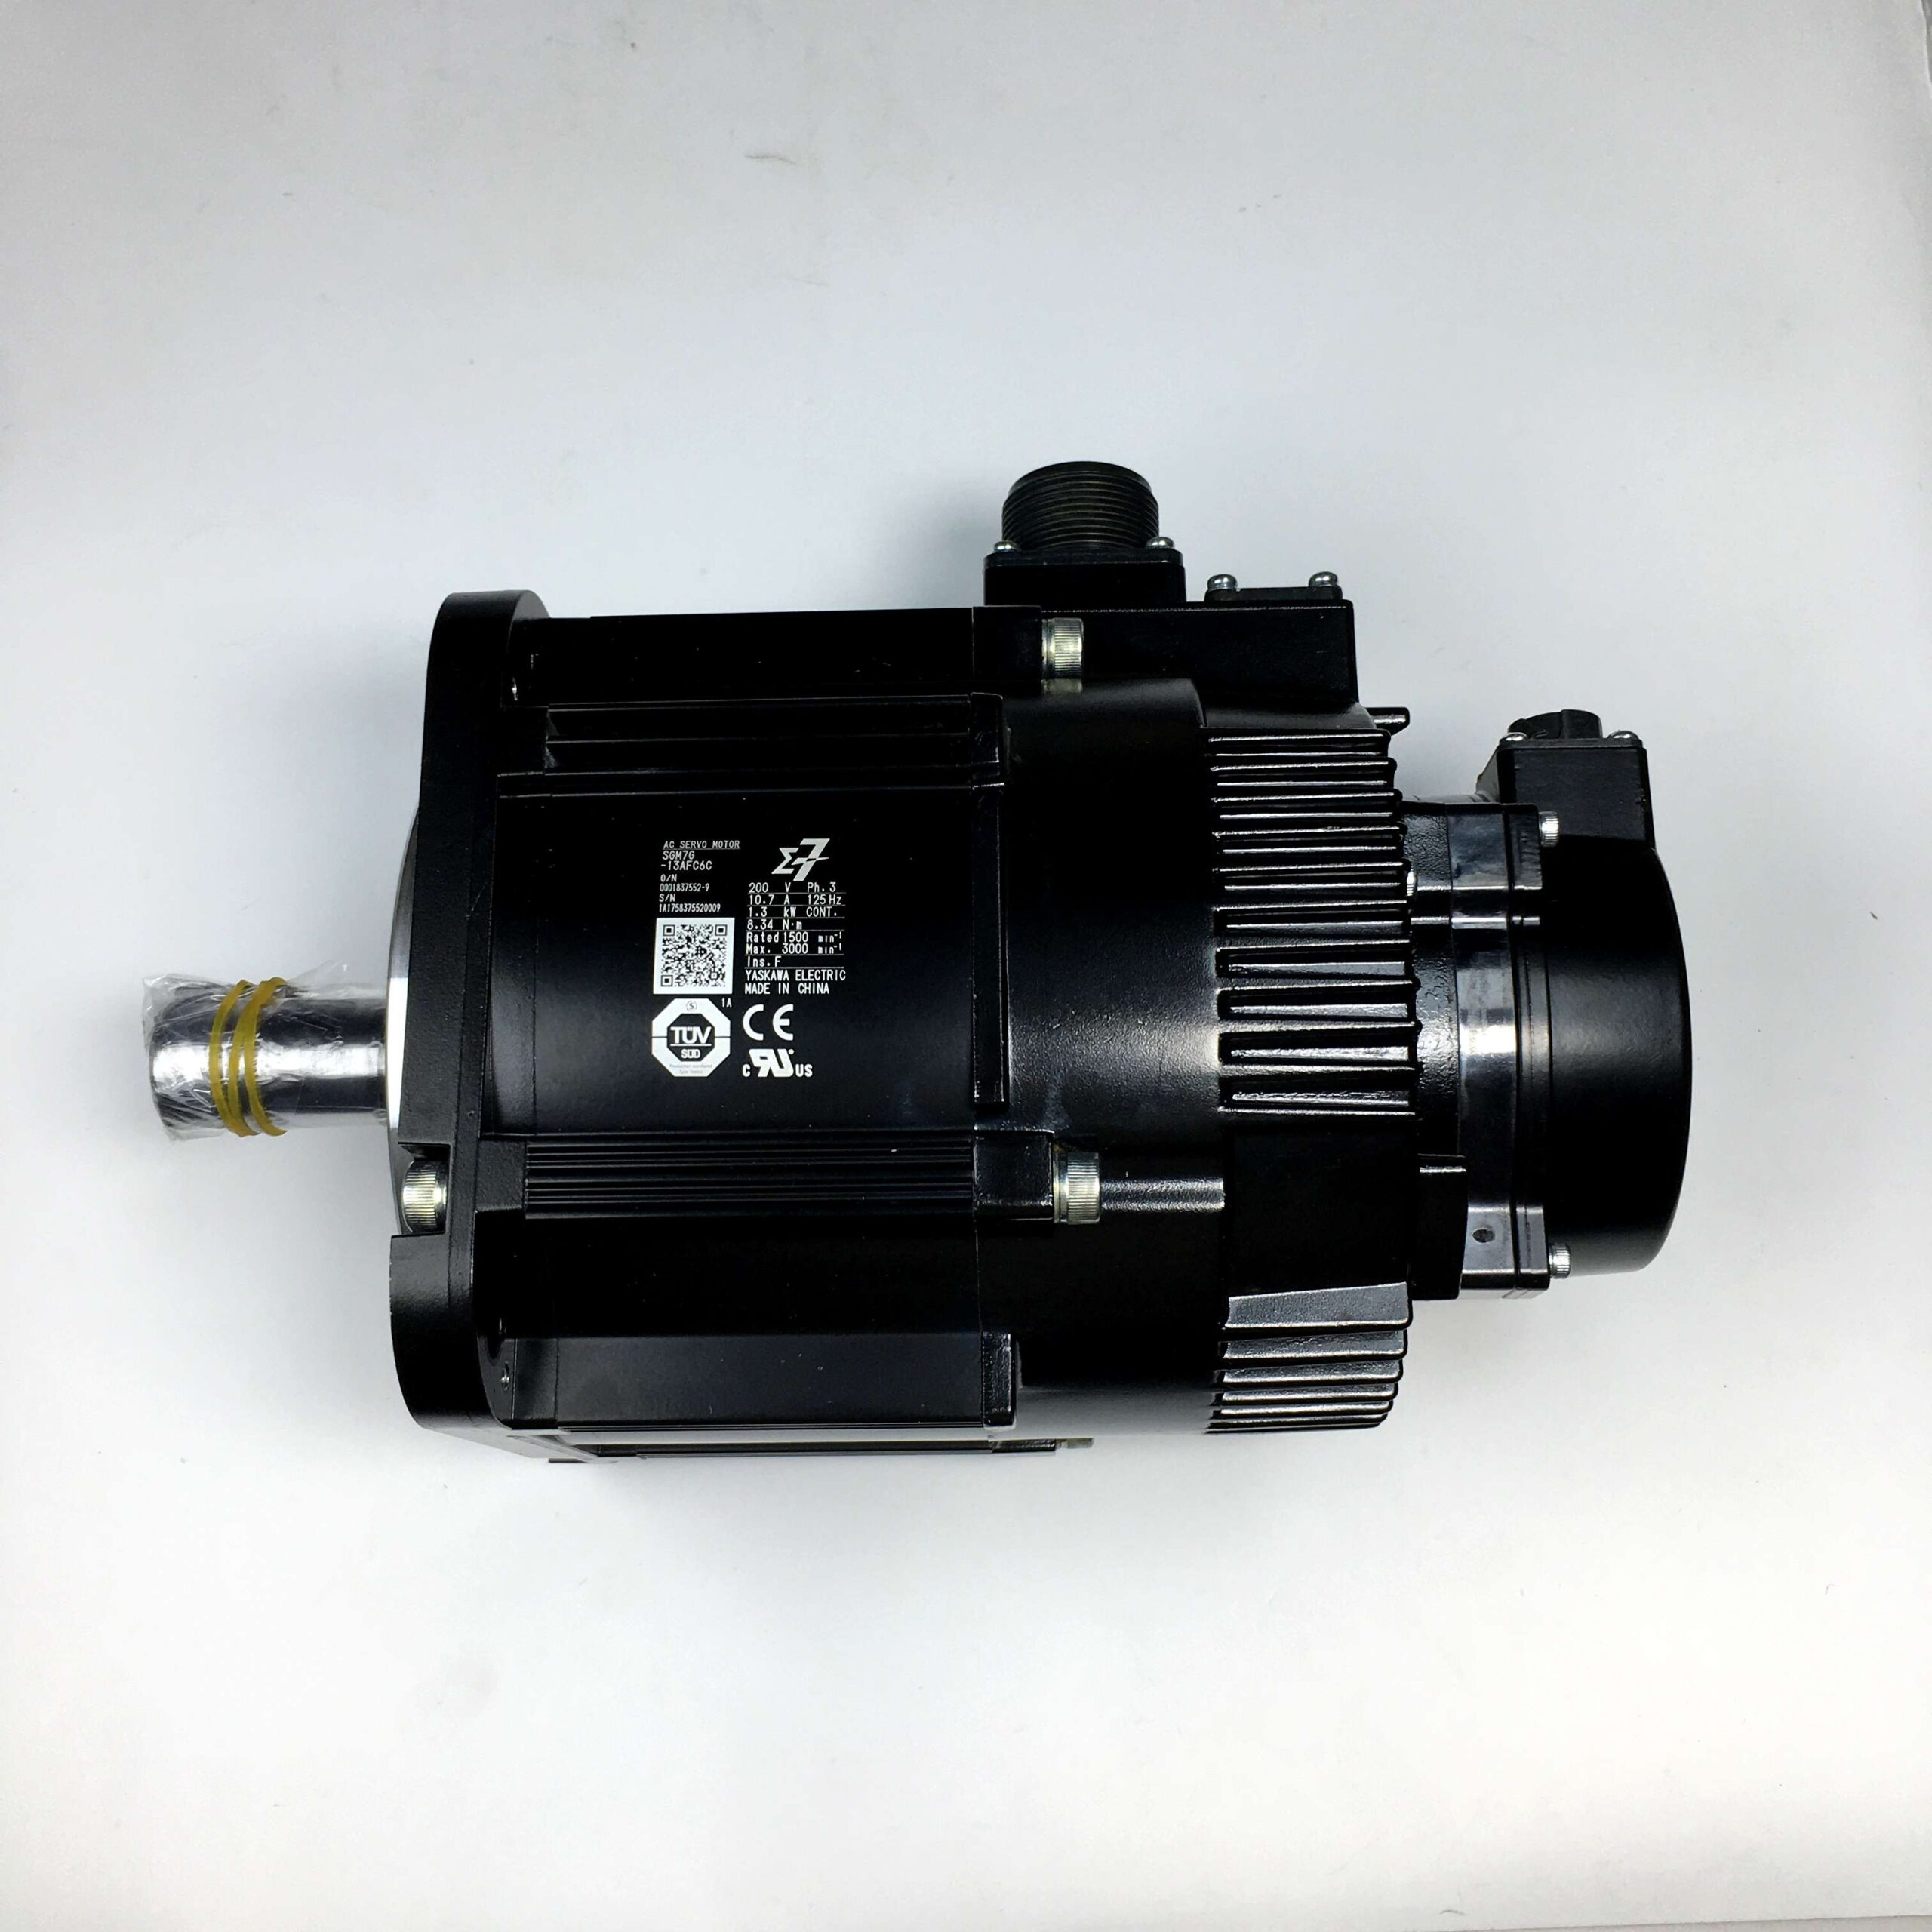
Servo motors are vital components in various fields, from robotics to CNC machinery, due to their precision and controllability. Regular maintenance, including proper diagnostics, ensures the optimal performance and longevity of servo motors. One essential method to diagnose the health of a servo motor is using a multimeter. This article will guide you step-by-step on how to check a servo motor using a multimeter, covering necessary tools, techniques, and important considerations.
Why Use a Multimeter for Servo Motor Diagnostics?
A multimeter is an essential tool used to measure voltage, resistance, and current. For servo motors, it can help you assess electrical integrity, detect faults, and prevent costly downtime. Regular diagnostic checks using a multimeter can identify problems such as damaged windings, poor connections, or short circuits before they lead to motor failure.
Benefits of Using a Multimeter
- Early Fault Detection: Multimeters can help identify issues such as insulation failure or open circuits before they escalate.
- Cost-Effective Maintenance: Regular checks can reduce repair costs by avoiding complete motor breakdown.
- Improved Safety: Identifying electrical faults early can prevent accidents and ensure workplace safety.
Servo motors contain components like windings, rotors, and encoders that must function properly to maintain motor efficiency and accuracy. The multimeter helps you assess the health of these components easily.
Tools Required for Checking a Servo Motor
To check a servo motor using a multimeter, ensure you have the following tools and materials:
- Digital Multimeter: A digital model is recommended due to its higher accuracy compared to analog versions.
- Insulated Gloves: Safety is paramount when working with electrical equipment.
- Screwdrivers: To access the motor terminals if needed.
- Documentation: Reference the motor’s datasheet or manufacturer manual for expected electrical values.
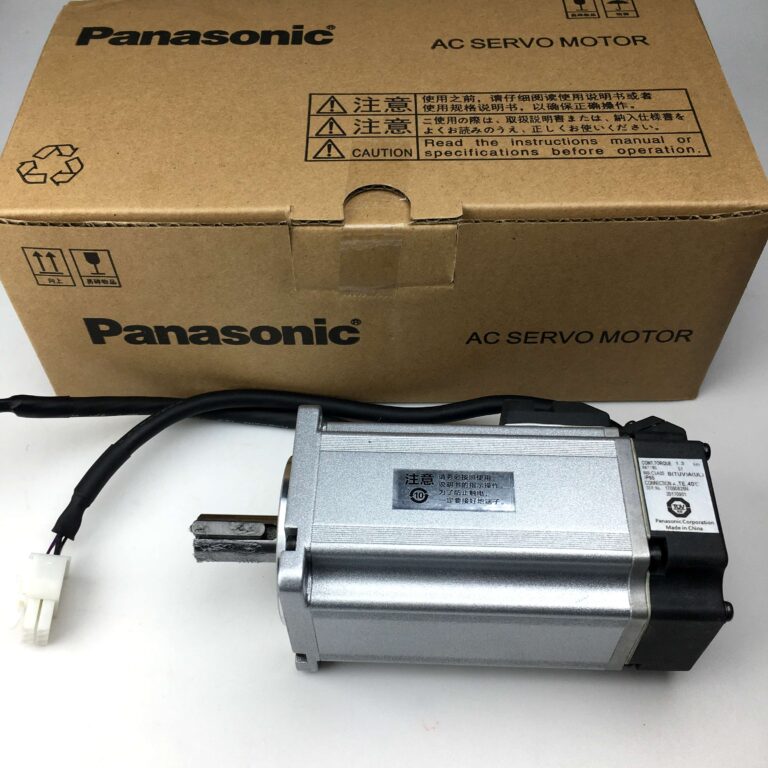
For a range of reliable servo motors, you may consider the Original Panasonic Servo Motor MINAS A5 at Servo Motor Store, which provides precise control and efficiency.

Step-by-Step Procedure to Check a Servo Motor Using a Multimeter
1. Safety Preparations
Before starting, take necessary safety measures to avoid accidents. This includes disconnecting the power supply to the motor and wearing insulated gloves to protect yourself from electrical hazards.
2. Set Up the Multimeter
Set the multimeter to the appropriate function based on the test you want to perform. There are three primary checks you can do:
- Resistance Measurement to test windings.
- Voltage Measurement to ensure proper power supply.
- Continuity Test to check for breaks in the wiring.
3. Measuring Winding Resistance
To measure the resistance of the servo motor windings, follow these steps:
- Disconnect the motor from the power supply and the driver.
- Set your multimeter to Ohms (Ω) to measure resistance.
- Place the multimeter probes on two of the motor terminals at a time.
- Record the resistance reading, then repeat for each pair of terminals.
Normal Range: The expected resistance value depends on the motor type. Consult the datasheet for typical resistance ranges. If one pair has significantly different resistance, it might indicate a problem like a short or damaged winding.
4. Checking Voltage at Terminals
- Set your multimeter to AC or DC Voltage mode depending on the motor type.
- With the motor powered on, place the probes on the terminals.
- The voltage should match the specifications from the manufacturer’s manual.
If you notice any significant discrepancies, this could mean there is an issue with the power supply or a fault in the servo motor driver.
5. Continuity Testing for Winding and Wiring Integrity
A continuity test helps ensure that the wires and connections within the servo motor are not broken or short-circuited.
- Set the multimeter to the continuity mode (indicated by a diode symbol).
- Touch the probes to each motor winding terminal.
- The multimeter will beep if continuity is present, which indicates that the windings are intact.
6. Inspecting the Encoder with a Multimeter
The encoder plays a key role in providing position feedback to the servo motor. You can check the voltage output of the encoder using a multimeter.
- Set the multimeter to DC Voltage.
- Place the probes on the encoder output terminals while the motor is powered on.
- Check if the output voltage matches the expected signal range (often 5V or 24V, depending on the encoder type).
A malfunctioning encoder might result in erratic motor behavior or loss of positioning accuracy.
Common Issues Found with a Multimeter and Their Fixes
1. High Resistance Reading
If the resistance measured between motor windings is significantly higher than expected, it could indicate corroded connections or damaged windings.
- Fix: Inspect and clean all connections. If the winding damage is confirmed, consult a professional for repair or consider a replacement.
2. No Continuity Detected
If the continuity test fails (no beep from the multimeter), it means there might be a break in the winding.
- Fix: Check the wiring harness for any visible damage and replace broken wires.
3. Voltage Mismatch
If the voltage reading is not within the expected range, this could be due to an issue with the power supply or servo driver.
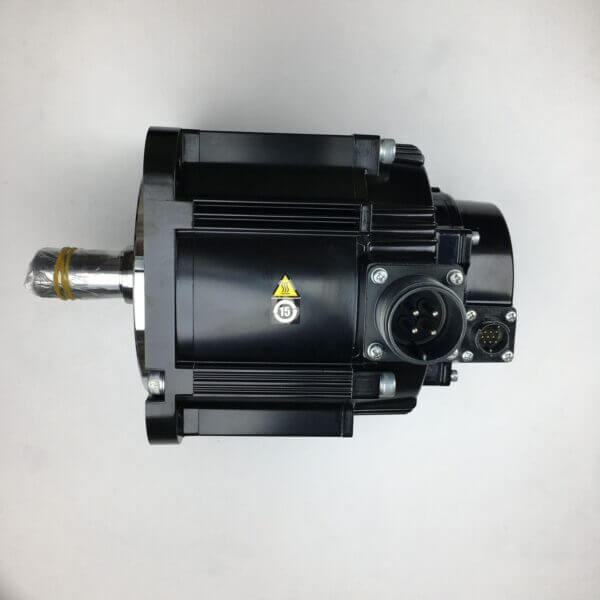
- Fix: Inspect the power supply and verify all connections. If the problem persists, the servo motor driver may need repair or replacement. For more information, refer to the Yaskawa Single Axis Servo Driver.
Tips for Effective Servo Motor Diagnostics
- Check Regularly: Conduct preventive maintenance checks every three to six months to avoid major issues.
- Monitor Temperature: Use an infrared thermometer to ensure the motor is not overheating during operation.
- Follow Manufacturer Guidelines: Always consult the datasheet or manual for proper values and instructions before making any adjustments.
Comparing Resistance Values: When to Be Concerned
| Motor Winding Pair | Expected Resistance (Ω) | Action Needed if Out of Range |
|---|---|---|
| Winding 1 & 2 | 1-10 | Inspect for damage or corrosion |
| Winding 1 & 3 | 1-10 | Check for broken windings |
| Winding 2 & 3 | 1-10 | Consult a professional if discrepancy |
FAQs
1. How often should I check my servo motor using a multimeter?
It’s recommended to conduct regular multimeter tests every 3-6 months or whenever unusual behavior, such as vibration or overheating, is observed.
2. What does it mean if my multimeter doesn’t beep during a continuity test?
If no beep is heard, it indicates that continuity is broken in the winding or wiring. This means there could be a disconnection or open circuit that needs attention.
3. Can a multimeter be used to check servo motor drivers?
Yes, you can use a multimeter to verify the voltage output and input to/from the servo driver. This helps identify faults within the driver circuitry.
4. What should I do if my servo motor gives erratic readings?
Erratic readings might be due to an encoder malfunction. Make sure the encoder is correctly positioned and outputting the proper voltage.
5. Are digital or analog multimeters better for testing servo motors?
A digital multimeter is typically preferred because it provides more accurate and easy-to-read measurements compared to analog versions.
Conclusion
Using a multimeter to check a servo motor is a practical and cost-effective way to keep your motor in optimal condition. By following these step-by-step procedures, you can detect early signs of damage, prevent downtime, and extend the motor’s lifespan. Remember, regular diagnostics are key to efficient maintenance and smooth motor operation. If you need high-quality replacement parts or further guidance, consider exploring the range of servo motors and drivers available at Servo Motor Store.
Regular maintenance doesn’t just prolong the motor’s life—it ensures your entire operation remains efficient, reducing costs and preventing potential safety issues.
