How to Connect a Servo Motor with a Relay
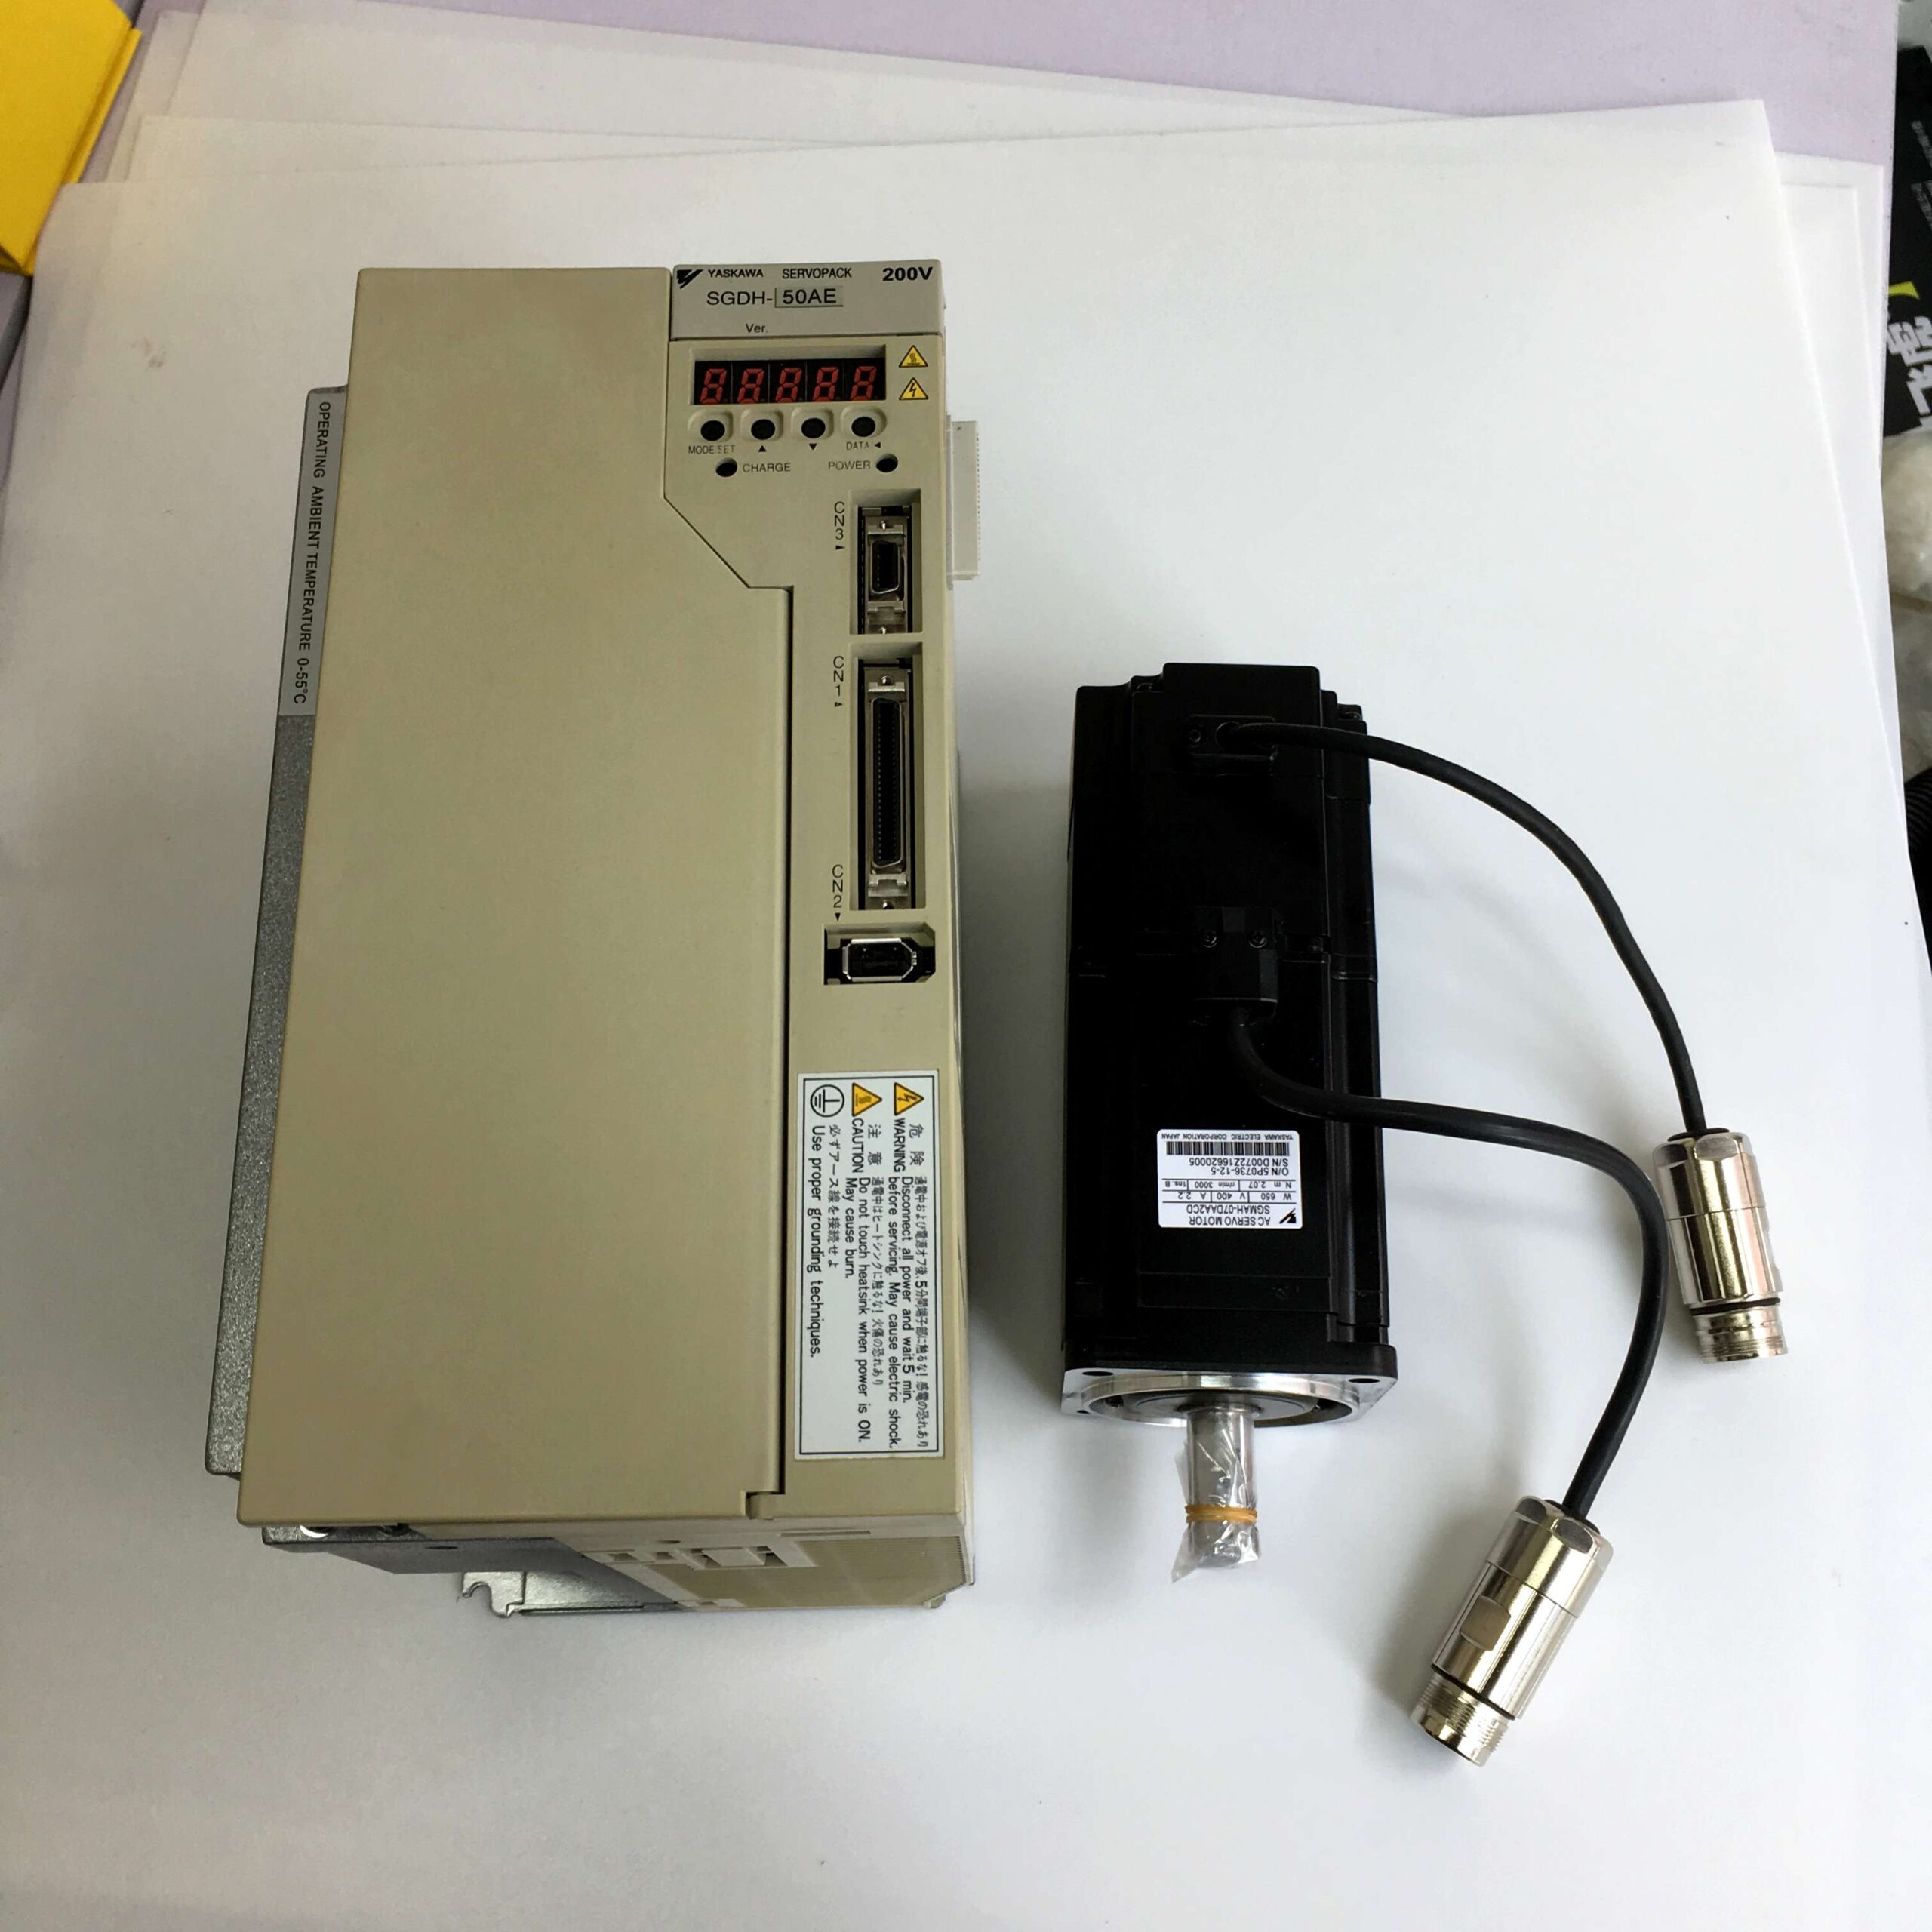
Connecting a servo motor with a relay is an essential skill for projects that require high-power control and motor activation. Whether you are working on an automation project, home robotics, or an industrial setup, the ability to manage servo motors effectively through a relay offers a versatile and scalable solution.
This comprehensive guide will walk you through everything you need to know about connecting a servo motor with a relay, covering basics, components, and practical examples. We’ll provide detailed insights that will help you choose the right relay, understand wiring diagrams, and create a stable control environment.
Understanding the Basics of Relays
What is a Relay?
A relay is an electrically operated switch. It allows one circuit to control another circuit. When a small electrical current flows through the relay coil, it closes or opens the contacts, allowing a different, typically larger, current to pass through.
Key Features of Relays:
- Isolation: They provide isolation between the low-power control circuit and the high-power load circuit.
- Control: Relays can control high-power loads using a small input current.
| Component | Function |
|---|---|
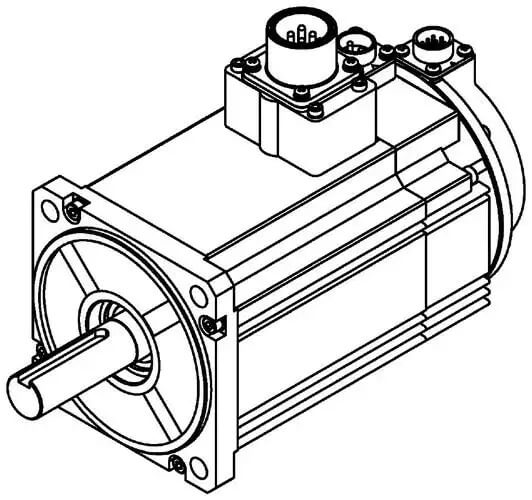
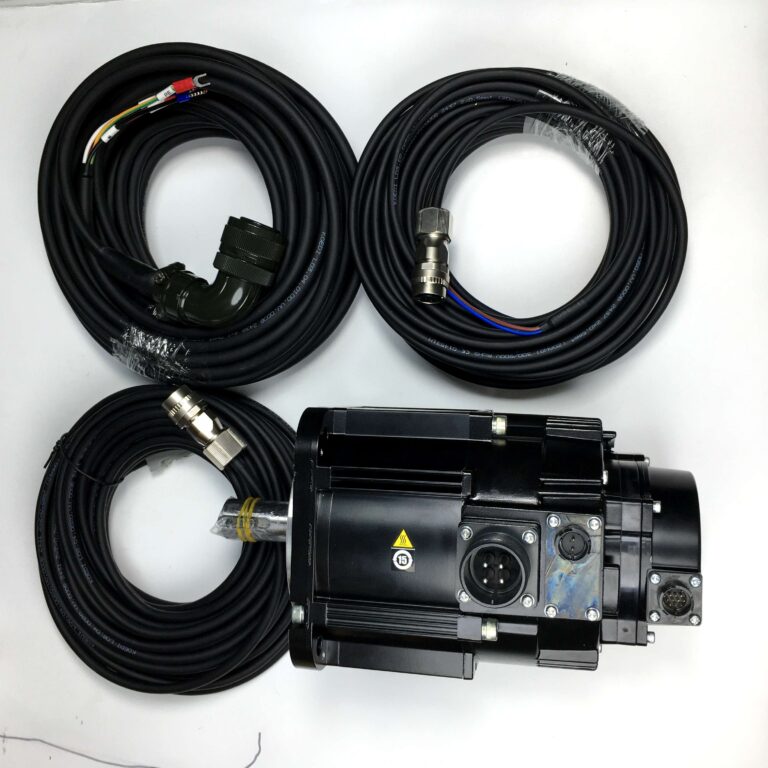
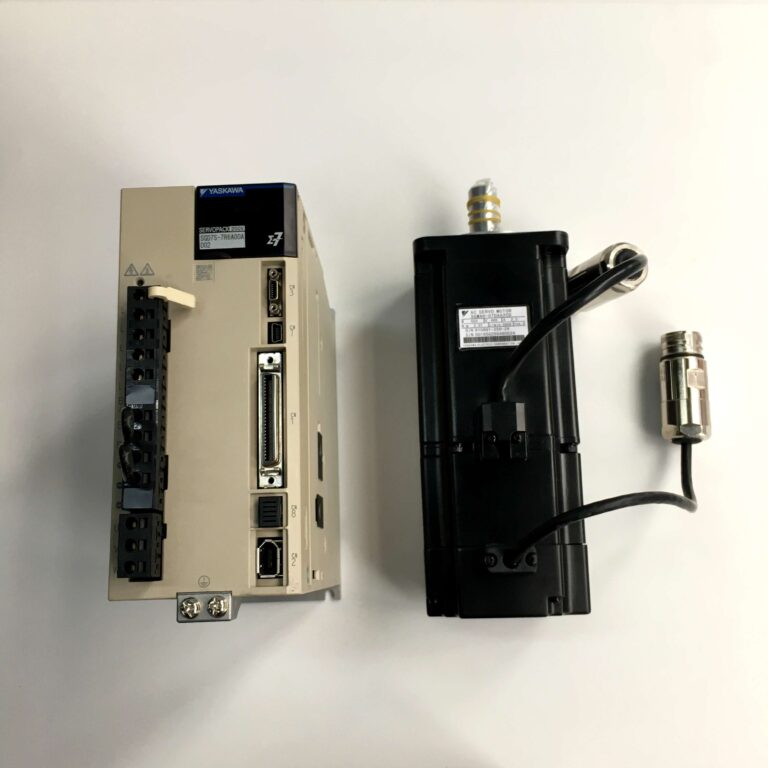
| Servo Motor | Provides precise control of movement |
| Relay | Acts as a switch for controlling power |
| Power Supply | Provides power to the relay and motor |
“Using a relay in a servo motor control system helps to switch the motor on and off without directly involving the microcontroller in the high current paths.”
Choosing the Right Relay for Your Servo Motor
Understanding Relay Ratings
When selecting a relay to use with a servo motor, you need to consider several factors, including the current and voltage ratings. The relay should be capable of handling the voltage and current of your motor without any issues.
- Relay Coil Voltage: This is the voltage required to activate the relay. It should match your control circuit.
- Contact Rating: The contacts should be rated to handle the motor’s maximum operating current.
- Type of Relay: Common types include SPDT (Single Pole Double Throw) and DPDT (Double Pole Double Throw). The type of relay will depend on your application requirements.
For most servo motors, a 12V or 24V relay is suitable. Make sure to select one with a current rating that exceeds the motor’s peak current.
Practical Example of Relay Selection
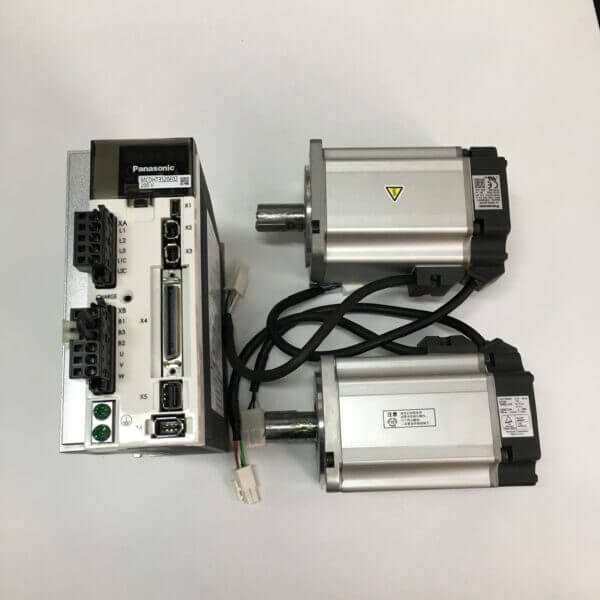
If you are using a Panasonic 100W Servo Motor running on a 24V power supply, you should select a relay that has a coil voltage of 24V and contact ratings of at least 5A to be on the safe side.
“Selecting the right relay not only ensures the motor works correctly but also prevents damage to the motor, relay, and control circuit.”
Step-by-Step Guide to Connect a Servo Motor with a Relay
Step 1: Gather the Necessary Components
Before you start wiring, gather the following components:
- Servo Motor
- Relay Module
- Power Supply (Matching motor and relay requirements)
- Microcontroller (e.g., Arduino for signal control)
- Connecting Wires
- Diode (Optional, to prevent back EMF)
Step 2: Understand the Wiring Diagram
To connect a relay with a servo motor, the wiring must be done correctly to ensure safety and efficiency. Below is a simplified wiring plan:
- Connect the Relay Coil: Connect one side of the relay coil to the output pin of your microcontroller. The other side should be connected to ground.
- Power the Relay Coil: Apply the relay’s rated voltage (e.g., 12V) to activate the coil. A transistor may be used to assist in this process if the microcontroller pin cannot supply enough current.
- Motor and Power Connection: The servo motor’s power supply is routed through the relay’s normally open (NO) contacts.
- Safety Diode: A diode should be placed across the relay coil to prevent back EMF from damaging the microcontroller or relay.
Note: Always verify the relay’s current rating against the servo motor requirements to avoid any power-related failures.
| Component | Description |
|---|---|
| Microcontroller | Provides the signal to activate the relay |
| Relay Coil | Actuates the switching mechanism |
| Diode | Prevents voltage spikes from damaging components |
Step 3: Connect the Servo Motor
The servo motor’s power input should be connected to the normally open (NO) contact of the relay. When the relay is activated, the circuit will close, allowing the current to flow to the motor.
- Positive Terminal of Motor: Connect to the NO contact of the relay.
- Negative Terminal: Connect directly to the ground of the power supply.
- Relay Control Signal: This will be sent from the microcontroller to activate or deactivate the relay.
“Proper wiring ensures not only that the relay controls the motor effectively but also protects sensitive components from damage.”
Practical Considerations for Servo Motor and Relay Connections
Power Supply Considerations
Ensure that you choose a power supply capable of handling both the servo motor and relay. The voltage should match both components’ requirements, and the current capacity must exceed the combined maximum current draw of the motor and relay.
Tips for Selecting a Power Supply:
- Current Rating: The power supply should be capable of handling the peak current requirements of the servo motor.
- Voltage Regulation: A regulated supply prevents fluctuations that could harm the motor or cause the relay to malfunction.
Using a Flyback Diode
A flyback diode across the relay coil can prevent potential damage caused by back EMF, a common occurrence when dealing with inductive loads like relays.
- The diode must be connected with the anode to the ground and cathode to the relay coil’s power side.
- This diode acts as a buffer, preventing voltage spikes from feeding back into the circuit and damaging sensitive electronic components.
Note: Failing to include a flyback diode can lead to short-circuiting the microcontroller pin or causing noise in the system.
Example Application: Controlling a Servo Motor in Automation
Consider an application where a servo motor needs to be used in a home automation system to open and close a door. You could use a microcontroller to detect a signal (such as from a motion sensor) and then activate a relay. The relay would then power the servo motor to open or close the door.
- Motion Detected: Microcontroller receives a signal from the sensor.
- Relay Activation: The microcontroller sends a signal to the relay, closing the circuit and supplying power to the servo motor.
- Servo Action: The motor rotates to open or close the door accordingly.
Scenario: “By utilizing a relay, you can protect the control components from high currents and ensure a safe operation of the motor, enhancing the reliability of your home automation system.”
Troubleshooting Tips
Common Issues and Fixes
- Motor Not Turning On: Verify the connections between the microcontroller, relay, and motor. Check for continuity.
- Relay Clicking but No Motor Movement: Ensure that the power supply is adequate for both the relay and servo motor. A power supply with insufficient current rating will cause such issues.
- Overheating: Overheating can occur due to prolonged usage or an insufficiently rated relay. Make sure the relay matches or exceeds the motor’s specifications.
| Problem | Possible Cause | Solution |
|---|---|---|
| No Motor Movement | Faulty connections | Double-check wiring |
| Overheating Relay | Insufficient relay rating | Upgrade to higher-rated relay |
| Microcontroller Damage | No flyback diode | Install a flyback diode |
FAQs
1. Can I use a relay to control a high-power servo motor?
Yes, relays are commonly used to control high-power servo motors, as they provide the necessary isolation and can handle higher currents.
2. What kind of relay should I use with a servo motor?
Use a 12V or 24V relay with contact ratings that match or exceed the current requirements of the servo motor to ensure safe operation.
3. How do I prevent my relay from getting damaged?
Make sure to use a flyback diode to protect against back EMF. Also, choose a relay with adequate ratings for your application.
4. Why is a diode needed when using a relay?
The diode prevents voltage spikes caused by the relay coil from damaging other components in your control system.
5. Can a microcontroller directly control a servo motor without a relay?
For small servo motors, direct control might be possible, but for larger motors that require high current, a relay is recommended to avoid damaging the microcontroller.
Conclusion
Connecting a servo motor with a relay allows you to safely control high-power devices using a low-power microcontroller. By understanding the role of each component, choosing the right relay, and ensuring proper wiring, you can create reliable and efficient control systems.
Always consider safety when working with high power, and be sure to use the correct relay and protection mechanisms like flyback diodes. For all your servo motor needs, including relays and power supplies, visit Servo Motor Store, where you can find quality products suited for your projects.
With the knowledge gained in this guide, you’re well on your way to mastering the connection of servo motors using relays, ensuring effective control and protecting your valuable equipment.
