How to Convert a Stepper Motor to a Servo Motor
Converting a stepper motor to a servo motor is a challenging yet rewarding task that can enhance the precision and efficiency of your projects. By modifying a stepper motor to function as a servo, you can achieve better control in terms of speed, torque, and position, all while improving the overall system’s versatility. In this comprehensive guide, we’ll take you through the necessary steps, considerations, and potential pitfalls for this conversion.
Servo motors and stepper motors both play pivotal roles in modern automation, robotics, and CNC machinery, but their different functionalities and performance characteristics often make it necessary to upgrade a stepper motor to a servo. Let’s explore the step-by-step process and understand why this conversion could be beneficial.
Stepper Motor vs Servo Motor: Key Differences
Before delving into the conversion process, it’s essential to understand the differences between stepper motors and servo motors.
| Feature | Stepper Motor | Servo Motor |
|---|---|---|
| Control | Open loop | Closed loop |
| Torque at High Speed | Drops significantly | Maintains good torque |
| Accuracy | High in open loop | Extremely high in closed loop |
| Feedback Mechanism | None | Uses encoders for feedback |
| Application | CNC, 3D printers, robotics | Robotics, precise positioning |
Stepper Motors work on an open-loop mechanism, which means they do not provide feedback about the current position. On the other hand, Servo Motors operate on a closed-loop system that uses a feedback mechanism, such as an encoder, to ensure precise positioning. This is what makes servos ideal for applications requiring accuracy.
Tools and Materials Needed for Conversion
Tools
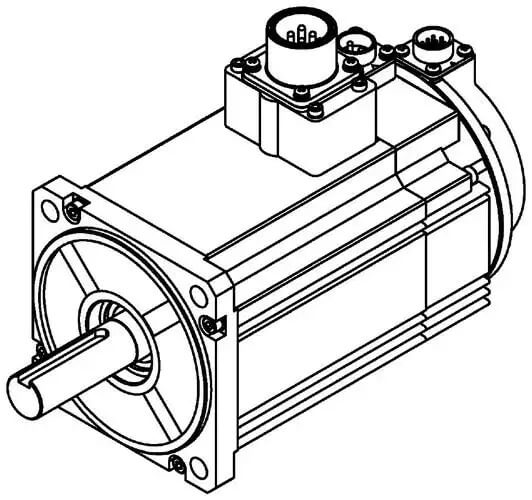
- Encoder: To convert a stepper motor into a servo, adding an encoder is a must.
- Motor Driver with Servo Control: This component reads the feedback from the encoder and adjusts the motor’s position.
- Microcontroller (Arduino or similar): To control the driver and create a closed-loop system.
- Power Supply: Make sure the supply matches the new load requirements.
- Wiring Kit: For connecting the components.
Materials
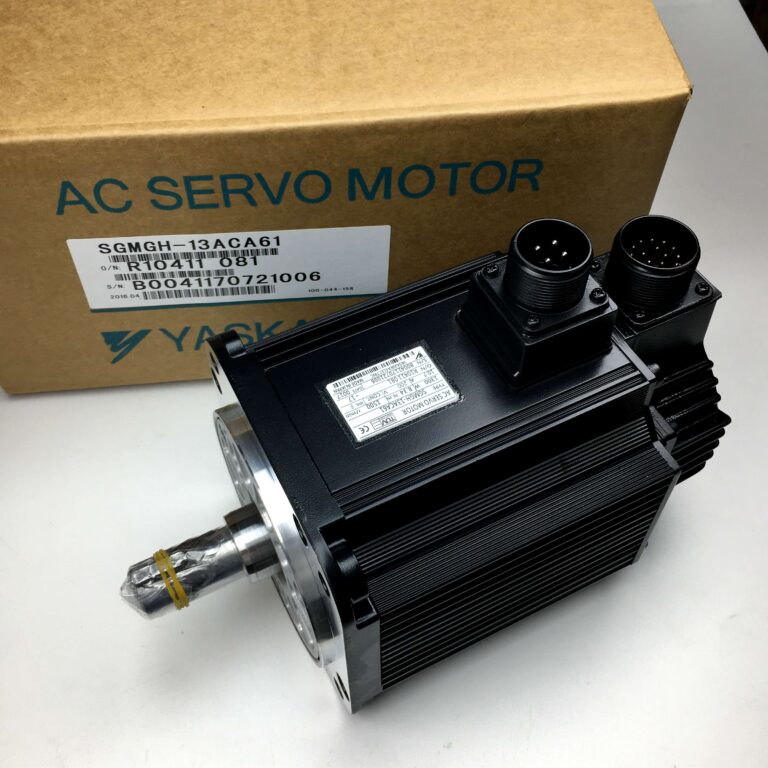
- Stepper Motor: A suitable stepper motor that you want to convert.
- Servo Drive Module: Designed for handling feedback.
- Encoders: Generally optical encoders work best for this conversion.
Tip: It’s recommended to use an encoder that can provide at least 400-600 pulses per revolution (PPR) for adequate precision.
Step-by-Step Guide to Convert Stepper to Servo
1. Adding the Encoder
The first step is to add an encoder to the stepper motor. An encoder provides feedback about the motor’s actual position, velocity, and direction to create a closed-loop system.
- Mount the Encoder: Attach the encoder to the rear end of the motor shaft. Ensure that the mounting is rigid, as any misalignment may affect the accuracy of the feedback.
- Wiring: Connect the encoder to a microcontroller or servo drive that will read the position feedback.
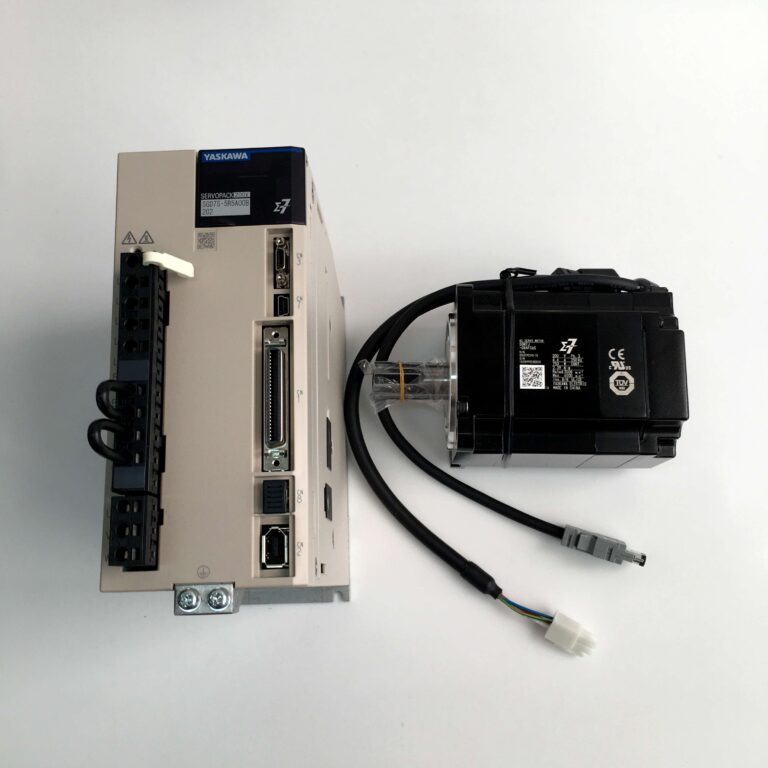
2. Connect the Motor to a Servo Drive
A standard stepper motor driver won’t be compatible for controlling a motor with feedback, hence it’s necessary to use a servo drive.
- Servo Drive Selection: Choose a servo drive that is compatible with both the stepper motor voltage rating and encoder type.
- Connect the Motor Phases: Connect the stepper motor phases to the output terminals of the servo drive.
- Encoder Feedback: Connect the encoder to the feedback input of the drive.
Note: Some modern servo drives can be programmed to operate specifically with stepper motors, thereby reducing setup complexity.
3. Implementing Closed-Loop Control
- Program the Drive: Configure the servo drive by programming it with the motor parameters (e.g., torque limits, velocity limits, etc.). This process typically requires specialized software provided by the drive manufacturer.
- Calibration: Power up the system and test the motor’s movement to ensure the encoder is properly tracking the position.
- PID Tuning: Use PID (Proportional-Integral-Derivative) control to fine-tune the motor’s response. Proper PID tuning can significantly improve motor performance, ensuring stable, smooth operation.
4. Testing and Fine-Tuning
With everything connected, it’s time to test the converted stepper-turned-servo system.
- Manual Movements: Move the motor manually using the microcontroller to check if the position and speed are being tracked correctly.
- Load Testing: Apply load and observe if the motor maintains position and performs well without vibration or step loss.
- Vibration Test: In the case of noticeable vibrations, try adjusting the PID settings or remounting the encoder more securely.
5. Common Issues and Troubleshooting
Misalignment: One of the common issues is misalignment between the motor and encoder, which can lead to inaccurate feedback and instability.
- Solution: Ensure that the encoder is mounted securely and is perfectly aligned with the motor shaft.
Feedback Errors: Sometimes the encoder may give faulty signals due to improper wiring or incorrect positioning.
- Solution: Recheck wiring connections and the encoder’s positioning.
Motor Jitter: If the motor jitters during movement, it may indicate improper PID tuning.
- Solution: Fine-tune the PID values for smoother operation.
Practical Applications of Converted Motors
The converted servo motor can be used in various applications where precision control is necessary:
- Robotics: Servo motors are widely used in robotics due to their accurate positioning capabilities.
- CNC Machines: Servo motors provide precise movement, which is essential for CNC machines involved in cutting and engraving.
- Automatic Gates and Elevators: These applications benefit from servo motors due to their reliability under load and accuracy in stopping at designated positions.
Adding an encoder and a servo drive transforms a basic stepper motor into a sophisticated servo system, suitable for these high-precision applications.
Cost-Benefit Analysis: Is It Worth Converting?
Converting a stepper motor into a servo motor can be advantageous, but it comes with additional costs and considerations.
| Consideration | Stepper Motor | Converted Servo Motor |
|---|---|---|
| Initial Cost | Lower | Higher (Due to encoder and drive) |
| Precision | Moderate | High |
| Power Efficiency | Moderate | Higher |
| Versatility | Limited | High |
Why It Makes Sense: If you already have a working stepper motor and your project demands more accurate control, converting to a servo is a cost-effective method compared to buying a new servo system.
Important Considerations and Safety Tips
- Overcurrent Protection: Ensure that the servo drive has built-in overcurrent and overheating protections to prevent motor damage.
- Power Supply Rating: Use a power supply that can handle the additional load that a servo setup demands.
- Signal Filtering: The encoder’s signal may be prone to noise, leading to erratic behavior. Use shielded cables and proper grounding.
For reliable servo drives and encoders, visit our Servo Motor Store where we offer high-quality options to suit various stepper-to-servo conversion needs.

FAQs
1. Can I use any encoder for converting a stepper to a servo?
Not all encoders are suitable. For optimal performance, choose an encoder that offers at least 400-600 pulses per revolution. This ensures adequate precision.
2. Is it necessary to replace the stepper driver with a servo drive?
Yes, a servo drive is essential because it reads the encoder’s feedback and adjusts the motor’s operation accordingly. Standard stepper drivers are not capable of handling feedback.
3. What kind of applications can benefit from a stepper-to-servo conversion?
Applications that require high accuracy and variable speeds, such as robotics, CNC machines, and automated systems, can significantly benefit from this conversion.
4. How complex is PID tuning?
PID tuning can be a bit complex and requires experimentation. Most servo drives have inbuilt tools to make tuning easier, but some trial and error is inevitable to achieve optimal performance.
5. Are there any alternatives to converting a stepper to a servo?
Yes, an alternative is purchasing a ready-made servo motor, but it could be more expensive. Conversion makes sense if you already own a stepper motor and want to upgrade it at a lower cost.
Conclusion
Converting a stepper motor to a servo motor offers a wide range of benefits, including improved accuracy, enhanced torque control, and dynamic response. This upgrade can be particularly advantageous for those involved in robotics, CNC machining, or other applications demanding precise motor control. Although the process requires additional components like an encoder and a servo drive, it provides significant advantages in terms of precision and efficiency.
With proper tools and guidance, this conversion is very achievable, providing a cost-effective alternative to purchasing a new servo motor. Whether you’re looking to improve your robotics projects or enhance the accuracy of a CNC machine, converting a stepper to a servo is a great investment in the long term.
For more information on servo motor components and accessories, explore our Servo Motor Store where we offer a range of products designed to make your motor projects a success.